How to Brew Beer-Home brewing
Objective
To brew, ferment, bottle and condition a beer from an extract kit using basis equipment.
Section 1: Preparation
Step 1: Make sure you have the proper equipment. Use the following as a guide: Sanitizer, Brew Kettle/Pot,
Fermentation Vessel, Air Lock, Stir Spoon, Auto Siphon, Bottles, Bottle Caps, & a Bottle Capper.
Step 2: Sanitize, Sanitize, Sanitize: Your success will rely on how clean your equipment is.
Anything that comes in contact with your beer after the boil process should be sanitized. PBW and Star San are great sanitizers for your equipment.
Step 3: Lay out everything before you begin. Have your equipment at the ready and all your ingredients prepared and measured before you begin.
The following starter kits are a great place to start.
Section 2: Let’s Brew
Step 4: Steeping Grains. Fill your 5 gallon brew kettle with 2.5 gallons of water.
As you heat your water, steep your grains for 20 minutes, or until your water reaches 170 degrees.
When you remove your grains, let the water drip out of the grain bag and into the kettle.
Don’t squeeze your grain bag as you don’t want to extract tannins, which may give your beer unwanted flavors.
Step 5: Bring your kettle to a boil, remove from heat, and add your malt extracts.
Be careful not to boil over. Hops are added at various intervals. Refer to your exact recipe as to when you need to add hops to your boil.
Step 6: The solution is now called wort. Cool your wort by bringing the temperature down as quickly as possible.
This can be done one of two ways. Set your pot in a sink with an ice bath or use a wort chiller.
A wort chiller is inserted into your wort. Cold water runs from your tap, through the chiller, and out to the sink bringing the heat of the wort with it.
A wort chiller is the most effective way, but either will get you the desired results.
The following recipe kits are some of our favorites. All come with everything you need to brew your first 5 gallon batch of beer
Section 3: Fermenting
Step 7: After sanitizing your fermentation vessel, the cooled wort can be poured or from your kettle to your fermenter.
Step 8: Add water to bring the level to 5 gallons.
Step 9: Aerate your wort by splashing it around in its container. Yeast need oxygen and splashing your wort will help.
Step 10: Add your yeast. Dry yeast is the easiest as you typically don’t have to prepare it beforehand.
Sanitize the yeast pack and a pair of scissors, cut the corner off the yeast pack, and pour the yeast into the fermenter.
Step 11: Seal your fermenter, add an air lock, and store in a dark, cool place. Ales should stay at 68 degrees to ferment properly.
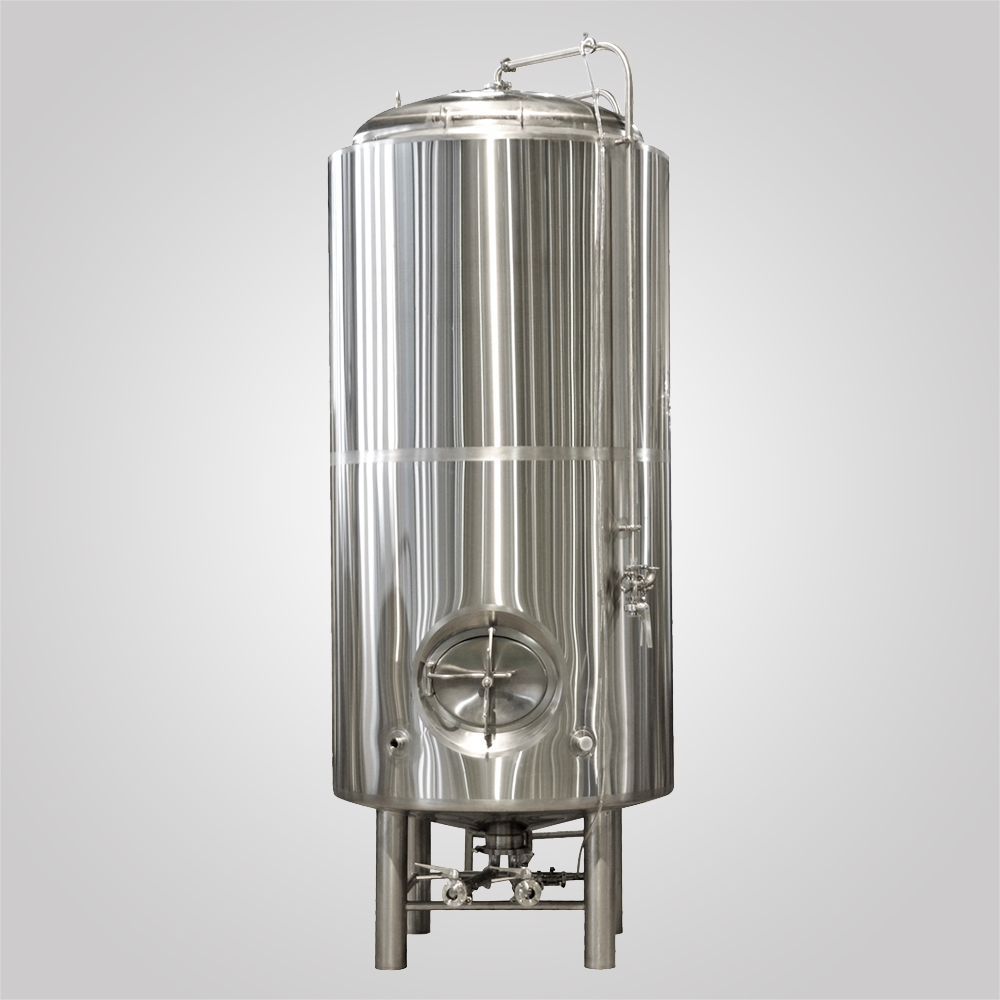
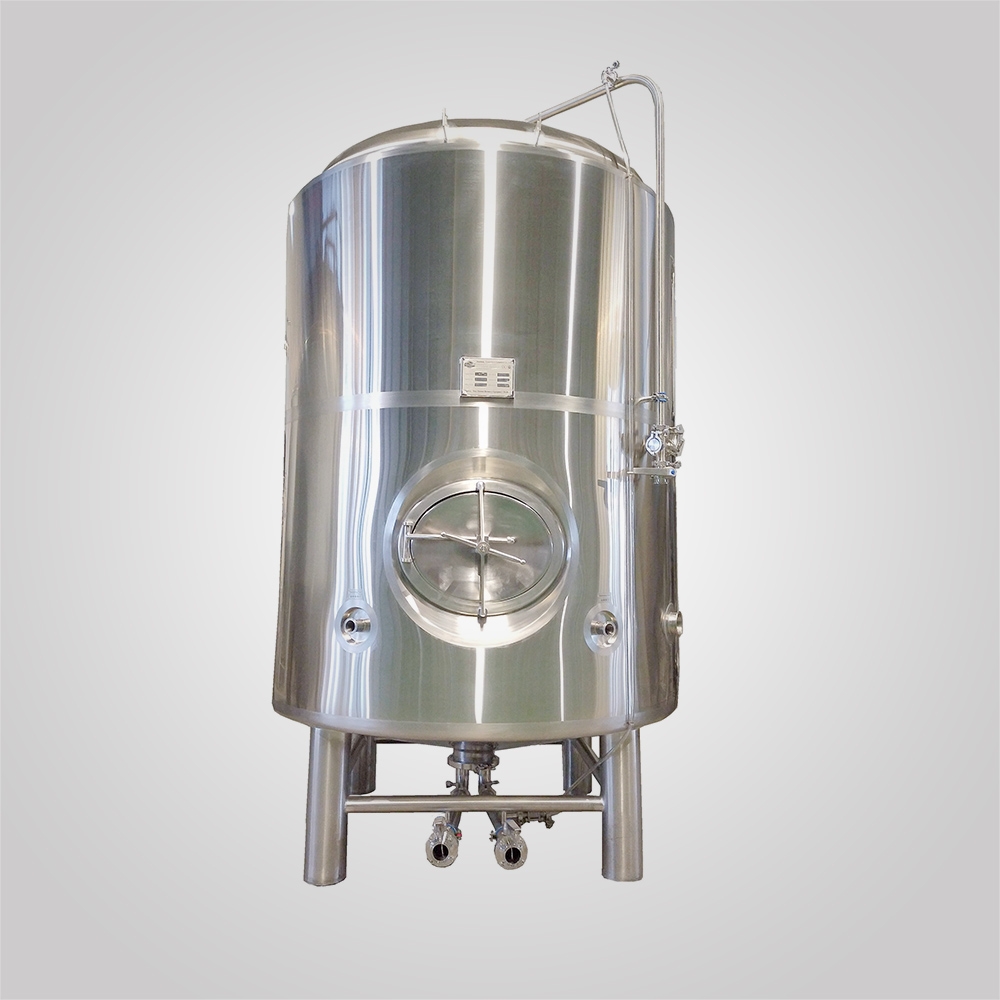
The following are great fermenters you may want to review when deciding what fermenter is best for you.
Section 4: Bottling
Step 12: After fermentation is complete, typically within two weeks, it’s time to bottle your beer.
Step 13: Sanitize your bottles, bottle filler, bottle caps, and bottling bucket you will be using for transfer.
Use a bottle brush on your bottles to make sure they are as clean as possible.
You will also want to sanitize any transfer hoses you use for this step.
Step 14: Boil your priming sugar in 16 ounces of water. After it cools, you can add this directly to the bottling bucket.
Step 15: Transfer your beer. Siphon the beer out of your fermenter and into your bottling bucket.
Be careful to leave as much sediment in the fermenter as possible.
Step 16: Attach a bottle filler to your hose and the hose to the bottling bucket spigot.
Open the spigot on your bottling bucket and push the bottle filler to the bottom of the bottle.
This will let the beer flow into the bottle. Fill each bottle to the top.
When you remove the bottle filler, it will leave the perfect amount of space at the top of the bottle.
Step 17: Cap the bottles with bottle caps and a bottle capper.
You have choices in what bottles you’d like to use. Below are a few selections of our top rated beer bottles.
Edited by Cody
Get A Quote