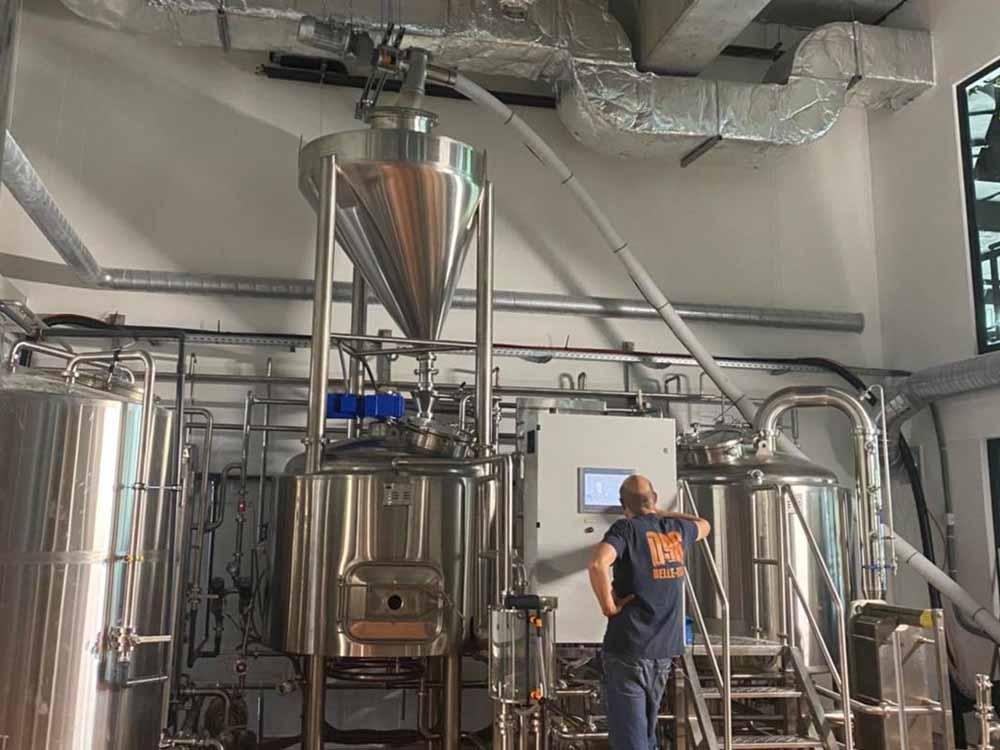
A whole lot requires to recognize to develop your very own brewery like mixture technology, brewery equipment arrangement, beer brewing equipment, conelike fermenters, conical fermenter, fermenter cone-shaped, fermenter beer, cone-shaped fermentor, brewery equipment price as well as rate, locate an area for brewery mount, permit as well as guideline of brewery. We will certainly do this with our beer mashing tools in brewhouse.
MASHING IN
As soon as your devices is established up, you will certainly require to begin warming your strike water (expensive term for the developing water including originally to the mash). The quantity of strike water needed differs in between 0.95 as well as 2.4 quarts of water per extra pound of grain (2-- 5 L/kg), and also a great uniformity-- or mash density-- for many beers is 1.25 and also 1.375 qts. The reduced numbers will certainly provide you a little thicker mash than the greater numbers, although the defined array is all in the "modest" array of mash density.
If your mash vessel has an incorrect base, include the quantity under your incorrect base to the quantity of strike water you require to warmth. If you have a steel mash paddle, established it in the HLT while the strike water is home heating.
Blending the smashed grains and also warm strike water is called mashing in. The objective is to blend the smashed malt and also water to make sure that the grain bed resolves in at your target temperature level (which will certainly be given up the homebrew dish) which this temperature level is as consistent as feasible throughout the grain bed.
The preliminary temperature level after mash in depends mainly on the temperature level of the strike water, the temperature level of the smashed malt and also the temperature level of your mash vessel. One common suggestion functions rather well if your grain and also tools are in the area of "area temperature level," and also you utilize a mash density in between 1.25 and also 1.375 qts. This is to warm your strike water to 11 ° F (6 ° C) over your target mash temperature level.
Take the temperature level and also area the cover on your mash tun to save warm. Videotape the quantity of the strike water, its temperature level in your mash tun simply prior to mashing in and also the first mash temperature level. After numerous efforts, you will certainly discover a typical temperature level distinction in between the strike water temperature level as well as the mash in temperature level for your system.
SACCHARIFICATION REST/STARCH CONVERSION
Throughout the mash remainder, your objective is to hold the grain bed at a continuous, consistent temperature level. After your very first mash, promptly take the temperature level near the side of the mash vessel, and also after that near the. Mix the mash to also out any type of temperature level distinctions as well as take the temperature level once more.
If your total mash temperature level goes down even more than 2 ° F (1 ° C), or the temperature level distinction within the mash is higher than 4 ° F (2 ° C), you need to shield your mash tun much better following time. If your mash vessel is heatable, you can additionally include warm straight throughout the mash. If you do, mix the mash and also do not warm also swiftly.
Opening up the mash vessel launches warmth to the setting. Making use of a "chilly" mash paddle takes in a lot more warm from the mash. (If you overshot your mash temperature level by a couple of levels, mixing a pair times is wonderful method to slowly bring the temperature level down.).
A lot of homebrew dishes define a one-hour remainder for solitary mixture mashes.
The first temperature level after mash in depends mainly on the temperature level of the strike water, the temperature level of the smashed malt as well as the temperature level of your mash vessel. Videotape the quantity of the strike water, its temperature level in your mash tun simply prior to mashing in as well as the first mash temperature level. After your very first mash, rapidly take the temperature level near the side of the mash vessel, as well as after that near the. If your general mash temperature level goes down even more than 2 ° F (1 ° C), or the temperature level distinction within the mash is better than 4 ° F (2 ° C), you must shield your mash tun much better following time. If your mash vessel is heatable, you can additionally include warm straight throughout the mash.
How to do mashing with Your Beer Brewing Equipment?
Get A Quote